
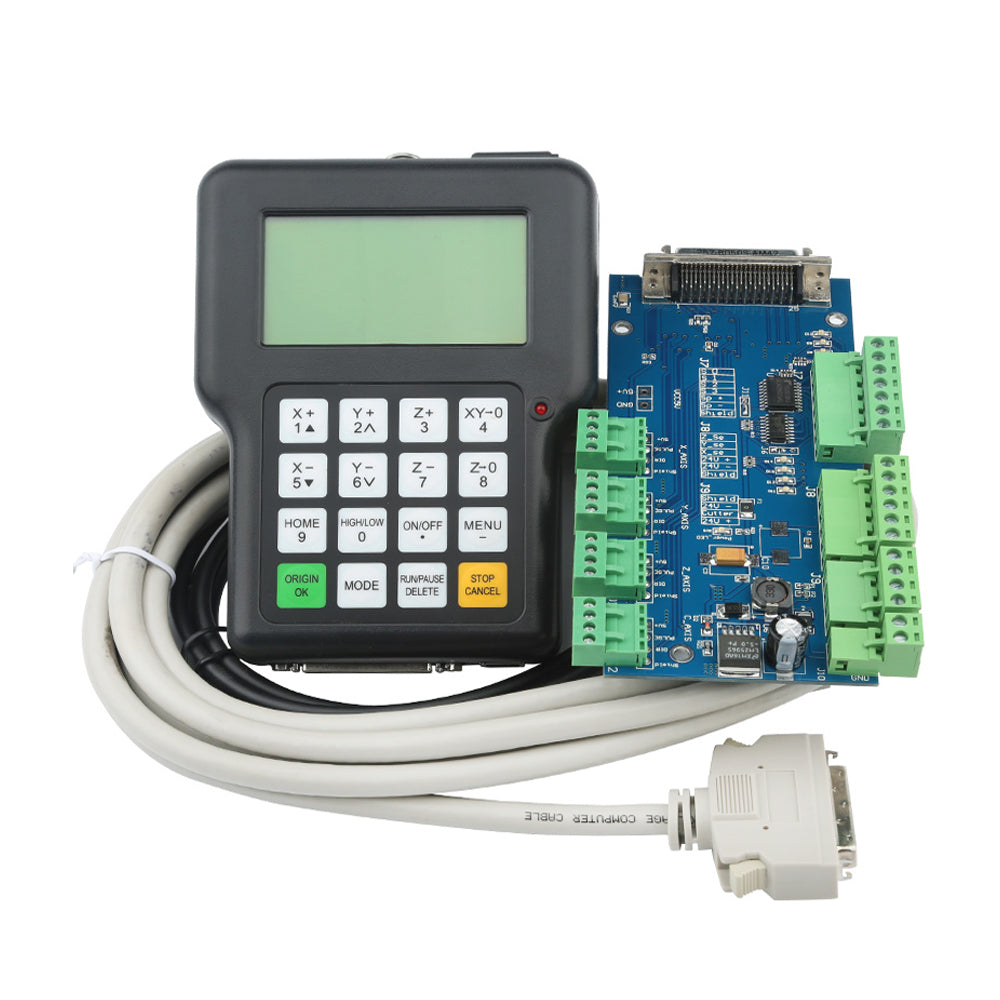
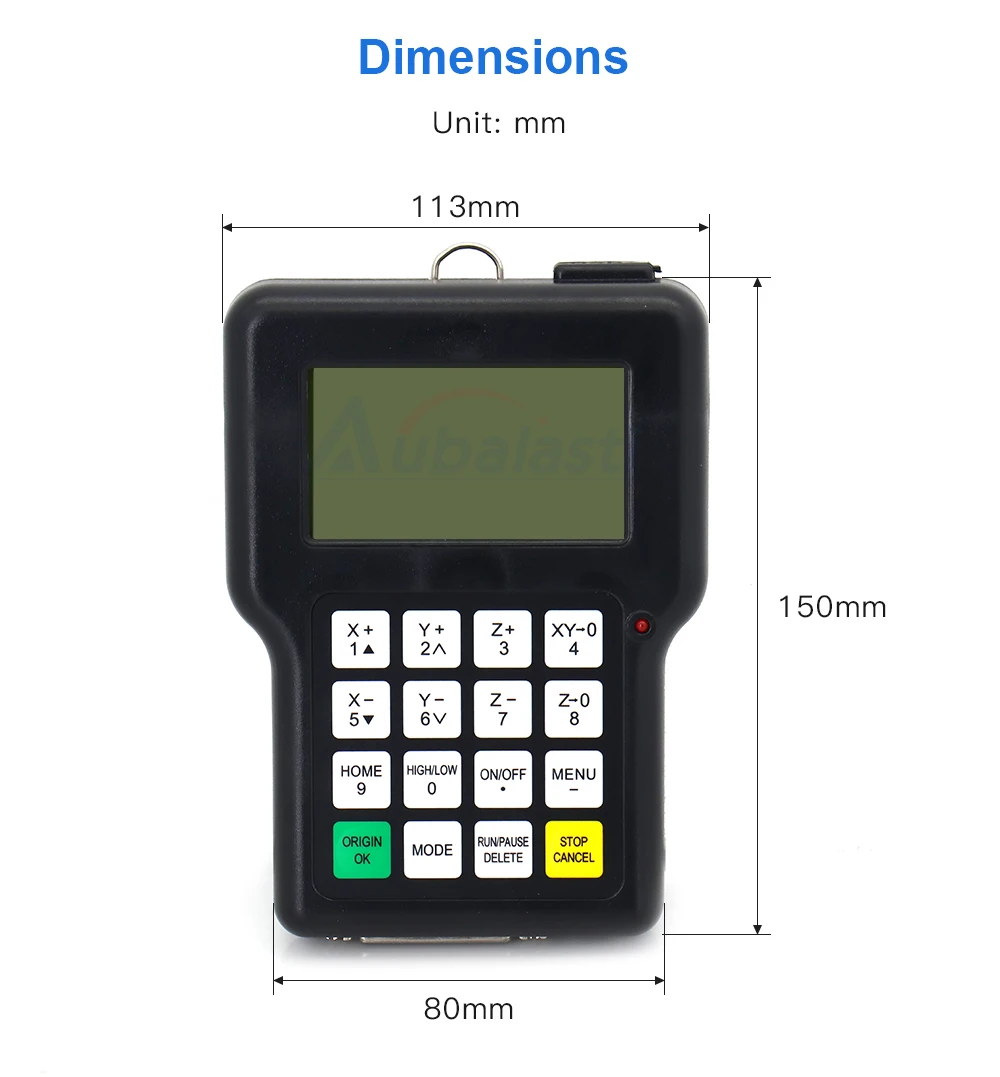
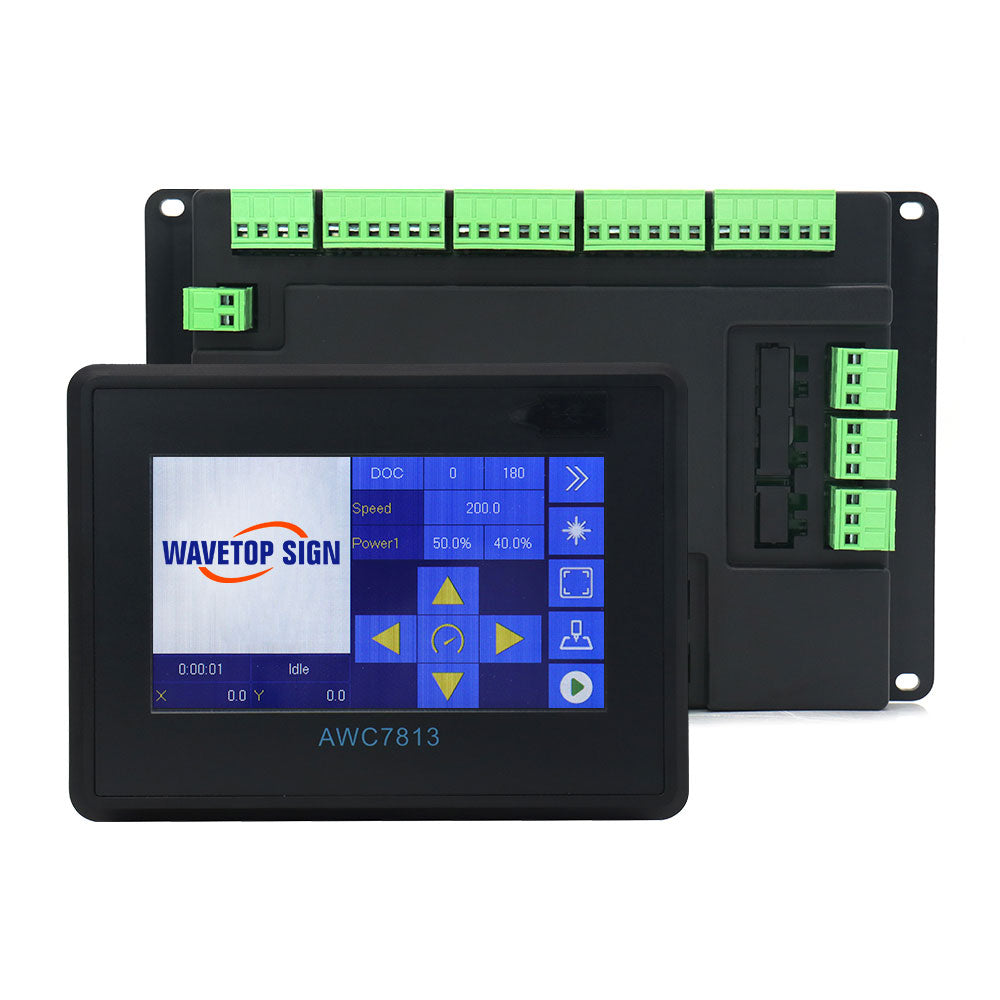
WaveTopSign DSP Controller 3 Axis 0501 System


1. Embedded system.
2. Totally independent from PC platform;
3. Read from USB storage device.
4. Support standard G code, PLT format instructions; support domestic and foreign mainstream CAM software, such as: Type3, Artcam, UG, Pro/E, MasterCam, Cumatron, Wentai and other software
5. G code writing error check.
6. Strong system and process file examining function;
7. Pre-check processing code.
8. Parameter setting safety value protection.
9. Machine safety size restrictions.
10. Self-diagnosis system,Reliable data protection and recover function;
11. Multi-language switching.
12. Easy to update system program;
13. It supports high micro-step which makes precise and fast process possible;
14. Support to process part of the file;
15. Friendly operating interface


Upper computer installation:
The upper computer refers to the programs included in the CD attached with the machine tool, including the USB driver, zhbusbhandhost.exe file, instruction manual, label file, menu file, emergency recovery program and ordinary program
Installation hardware configuration requirements: Motherboard :PIII 450 or above, operating system :Win2000, XP installation steps are as follows:
1. Insert the CD into the CD drive of the computer, and copy all the files in the CD into the designated folder in the computer, such as: the newly created USB handle folder in disk C;
2. Connect the handle to the computer with the USB cable;
3. The bottom right of the computer screen prompts to find new hardware, click the prompt;
4. When the prompt for installation driver appears, select the second option to install from the list or specified location;
5. Find the folder in Step 1 in the browse item (such as the USB folder of Disk C);
6. When the driver installation begins and the prompt is not signed by Microsoft digital, choose to continue. When the prompt is finished, click ok to download the file from the upper computer to the handle
File Download Actions:
There are two ways to download files in RZNC 0501 control system. One way is to download the target files to the internal files in the control system through the upper computer (such files are referred to as internal files).Another way is to insert the usb flash disk directly into the control system, and the files on the usb flash disk can be read and executed directly (such files are called USB flash files for short).
1) Download internal files
1. Connect the handle to the computer via USB cable;
2. Click the icon of zhbusbhandhost.exe file;
3. Expand the upper computer, click the file, find the file to download, and the file appears on the screen;
4. Click operation to download, select download file, and click OK to download the file;
5. After the file download and verification, prompt the file download is successful, click OK to confirm;Unplug the USB cable and download the file to the internal file of the control card
II) Download usb flash disk files
1. Generate the target file with the graphics modeling software, and transfer the file to the U disk;
2. Insert the USB flash disk into the interface in the upper right corner of the control card, and make sure it is firmly inserted;
Machine tool operation:
1. Connect the handle to the machine through a 50-pin connection, and electrify;
2. Does the LCD go back to the origin?, press ok to return to the machine tool origin, press delete to return to the machine tool origin, press cancel to return to the z-axis origin only;
3. Move X,Y and Z axes to the specified position, and then press XY 0 and Z 0 keys to clear the zero to determine the working origin;
Press the run key to select the file item, move the cursor to select the file type, and press ok to enter the list of files on the U disk or the list of internal files. For files in the list of files on the U disk, X+ and X- move the cursor to the target file, and then press OK to start processing;For internal files
1. For the file in the list, press the corresponding number key before the file to select the file to be processed, and press the menu key to turn the page to find the file;
2. Select processing documents, processing parameter configuration, according to X + and X - move the cursor to select different parameters, by determining the button to enter setting values change, the input error press the delete key to delete wrong input, after the completion of the input according to identify new numerical key to confirm, press cancel to return to the original numerical users must be combined with the actual situation of machine tool and machining need to modify the configuration parameters, otherwise it will cause processing error
3. Press cancel to exit the processing parameter modification system and start to check the processing code after complete setting of processing parameters. Press Ok to start processing after completion of checking
4. During the processing, press Y+ Y- key to change the speed multiplier, and press Z+ Z- key to change the spindle speed;
5. During the processing, press the pause button to adjust the position of the three axes, and then press the pause button to prompt the original position.Press pause to confirm the new position and start machining, and press OK to continue machining without changing the position;
6. In the process of processing, press the "Stop" button to stop the processing and prompt to save the breakpoint. If you need to reprocess from the current position, press 1, or 2, 3, 4, 5 or 6 and press the "OK" button to save the current processing., press ok to return to the working origin, and press Stop to return to the working origin;
7. The breakpoint processing if you need to continue to save the raw file for processing, press the run key + the corresponding number keys, processing parameter Settings, operating with the above 5 or 6 according to cancel, in the breakpoint file line number, according to determine key, starting test code, after testing can return to the position of the stop processing;
8. Power-down processing In the processing process, if the power is lost, the control system will automatically save the unfinished data and press "OK" to return to the origin after the call. The screen will prompt whether the power is lost or not
9. After the start of processing, the system will display real-time processing status, such as speed multiplier, remaining processing time, real-time processing speed and line number of file execution
The use of key combinations:
The usage of key combination is: first hold down the first key, then press the second key, when the corresponding content appears, release the two keys at the same time, the specific functions are described as follows:
1. Menu + number key to switch the working coordinate system;
2. Menu + axis opening key, knife alignment;
3. Run + numeric key, breakpoint machining;
4. Operation + high speed key, advanced processing;
5. Confirm + stop key, help information
Menu Settings and use:
In the main interface, press the menu key to enter the menu item, press X+ and X-move the cursor to select different menu items, and then press OK to enter
I) machine parameters configuration is to adjust control card with machine tool mechanical properties consistent configuration includes: pulse equivalent, machine size Settings, set back to zero, the spindle setting, level definition, pulse definition, thickness of knife apparatus, such as screw clearance suggest the parameters set by the manufacturer, once set up, do not need the customer change the changing parameters, press the corresponding numerical key, enter the press determine preservation, after the completion of the input error press the delete key changes, press cancel keys move the cursor to change properties, Y + and - keys to change Y cancel button back to the parent menu, until the exit
II) Configuration of machining parameters Setting the linear and curve acceleration in machining and G code to read the specified input value of the property, press the corresponding number key, and press the OK key to save the change, press Y+ and Y-key to save the change, press the OK key to save the change, and press the cancel key to cancel the change and return to the superior menu
III) System parameter configuration Setting system language, formatting internal data area, self-check function and system upgrade Press X+ and X-move cursor to select, and press OK to confirm the change
IV) advanced processing configuration Settings for some special processing documents, such as array processing configuration can be set up array rows, columns, and the line spacing (for the spacing of two center spacing) milling plane configuration, file maintenance, and other special requirements of processing Settings press X + and X - move the cursor to select, identify the input button to enter submenu items after the correct values, determine the key preservation, press cancel to cancel the changes and return to the parent menu
V) Version display press the "OK" key to view the emergency/normal program number of the system
Advanced processing:
After setting the advanced machining configuration, press Run + high/low speed to enter the advanced machining menu, press X+ and X-move cursor to select, enter the "OK" key, and operate step by step according to the prompts
We typically ship in 1-3 business days (Mon-Fri). And you will receive your order in 10-15 business days (Mon-Fri). Please know that we are doing the best we can to get orders out promptly.
We send FEDEX by default.
If you need to change other logistics, you can contact customer service.
When your order ships you will receive a separate email providing you with a tracking number to track your order. Sometimes this email gets sorted into spam or promotions folders so be sure to take a look in there if it feels like you have been waiting a little too long.
You can also log into your account and click on the order in question to see the status.
*Please note that sometimes the tracking can take a day or two to be updated by the carrier. If it looks like its not moving, chances are its on its way!
OUR PRODUCTS
Attention! Deal Zone
Featured Products


About us
Contact us
Your Suggestion
Corporate Philosophy
Privacy policy
Terms of Use
Customer Care
My Account
Track your Order
Customer Service
Returns/Exchange
Product Support
© 2022 Pext - All Rights Reserved.
